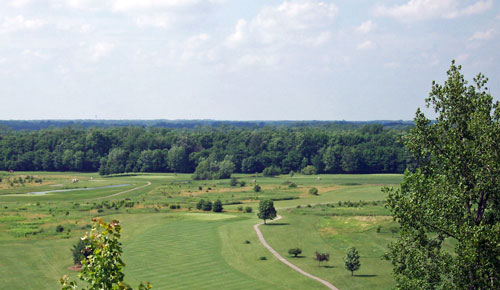
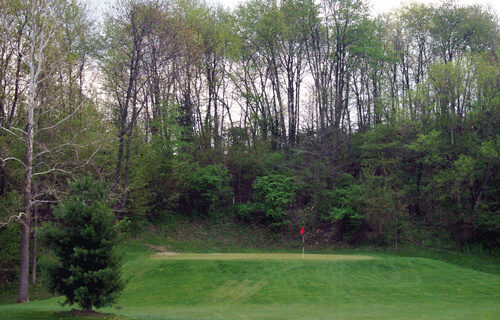
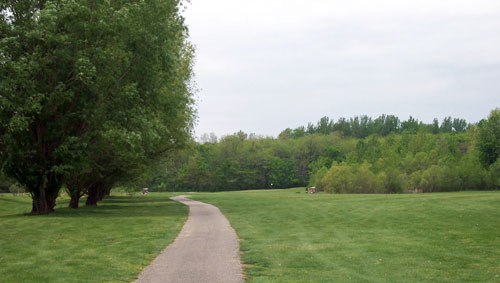
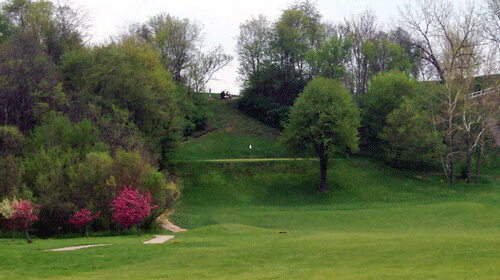
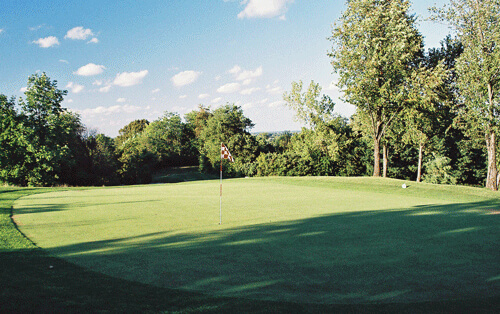
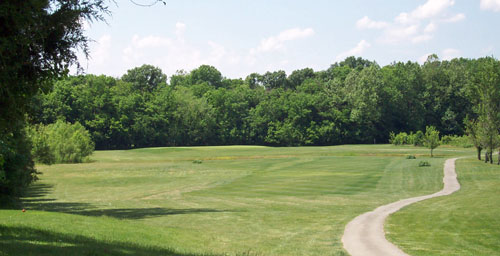
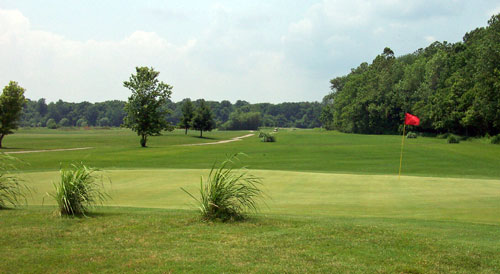
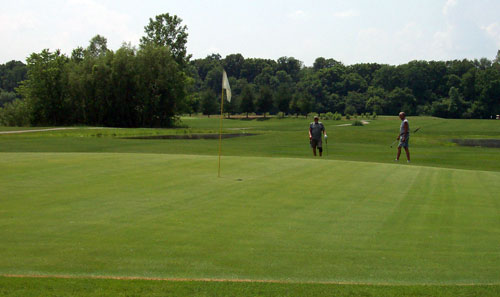
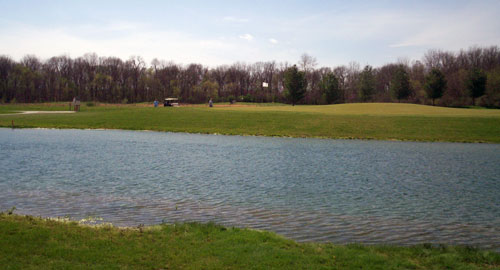
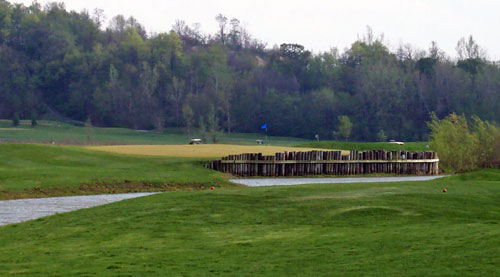
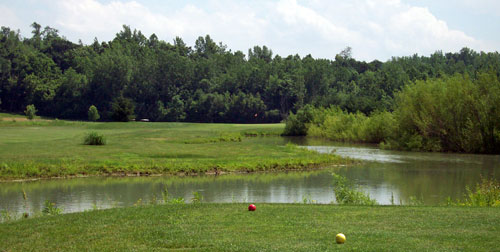
Come enjoy golf in natural surroundings as it was meant to be played! No concerns with bouncing your errant shots into someone's backyard, window or pool because there is no housing development encroaching on the golf course. This is a stand-alone golf course spread over 171 acres surrounded by woods and by the Bluff Creek. The driving areas are mostly generous, but don't stray too far from the fairway as woods, natural heather grasses, and ponds await.

DF Course Map

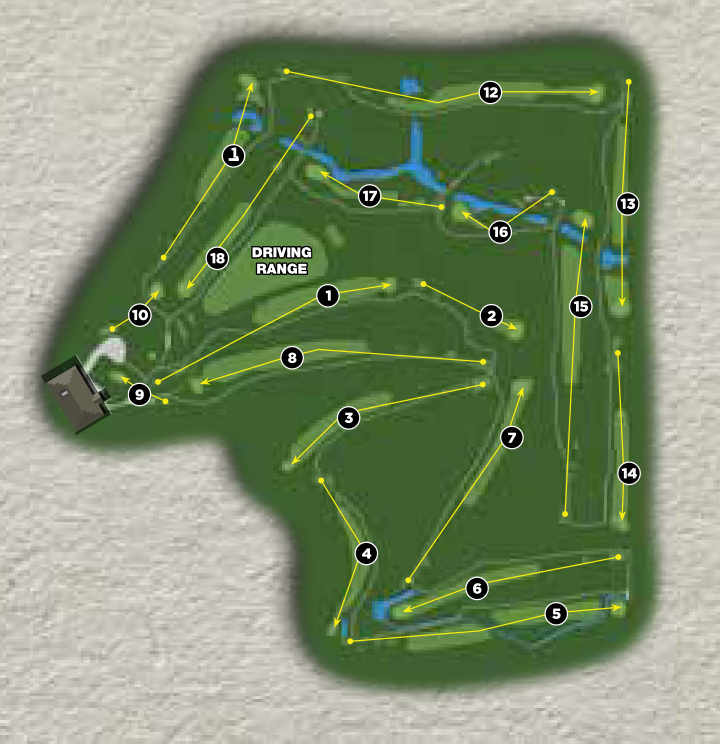
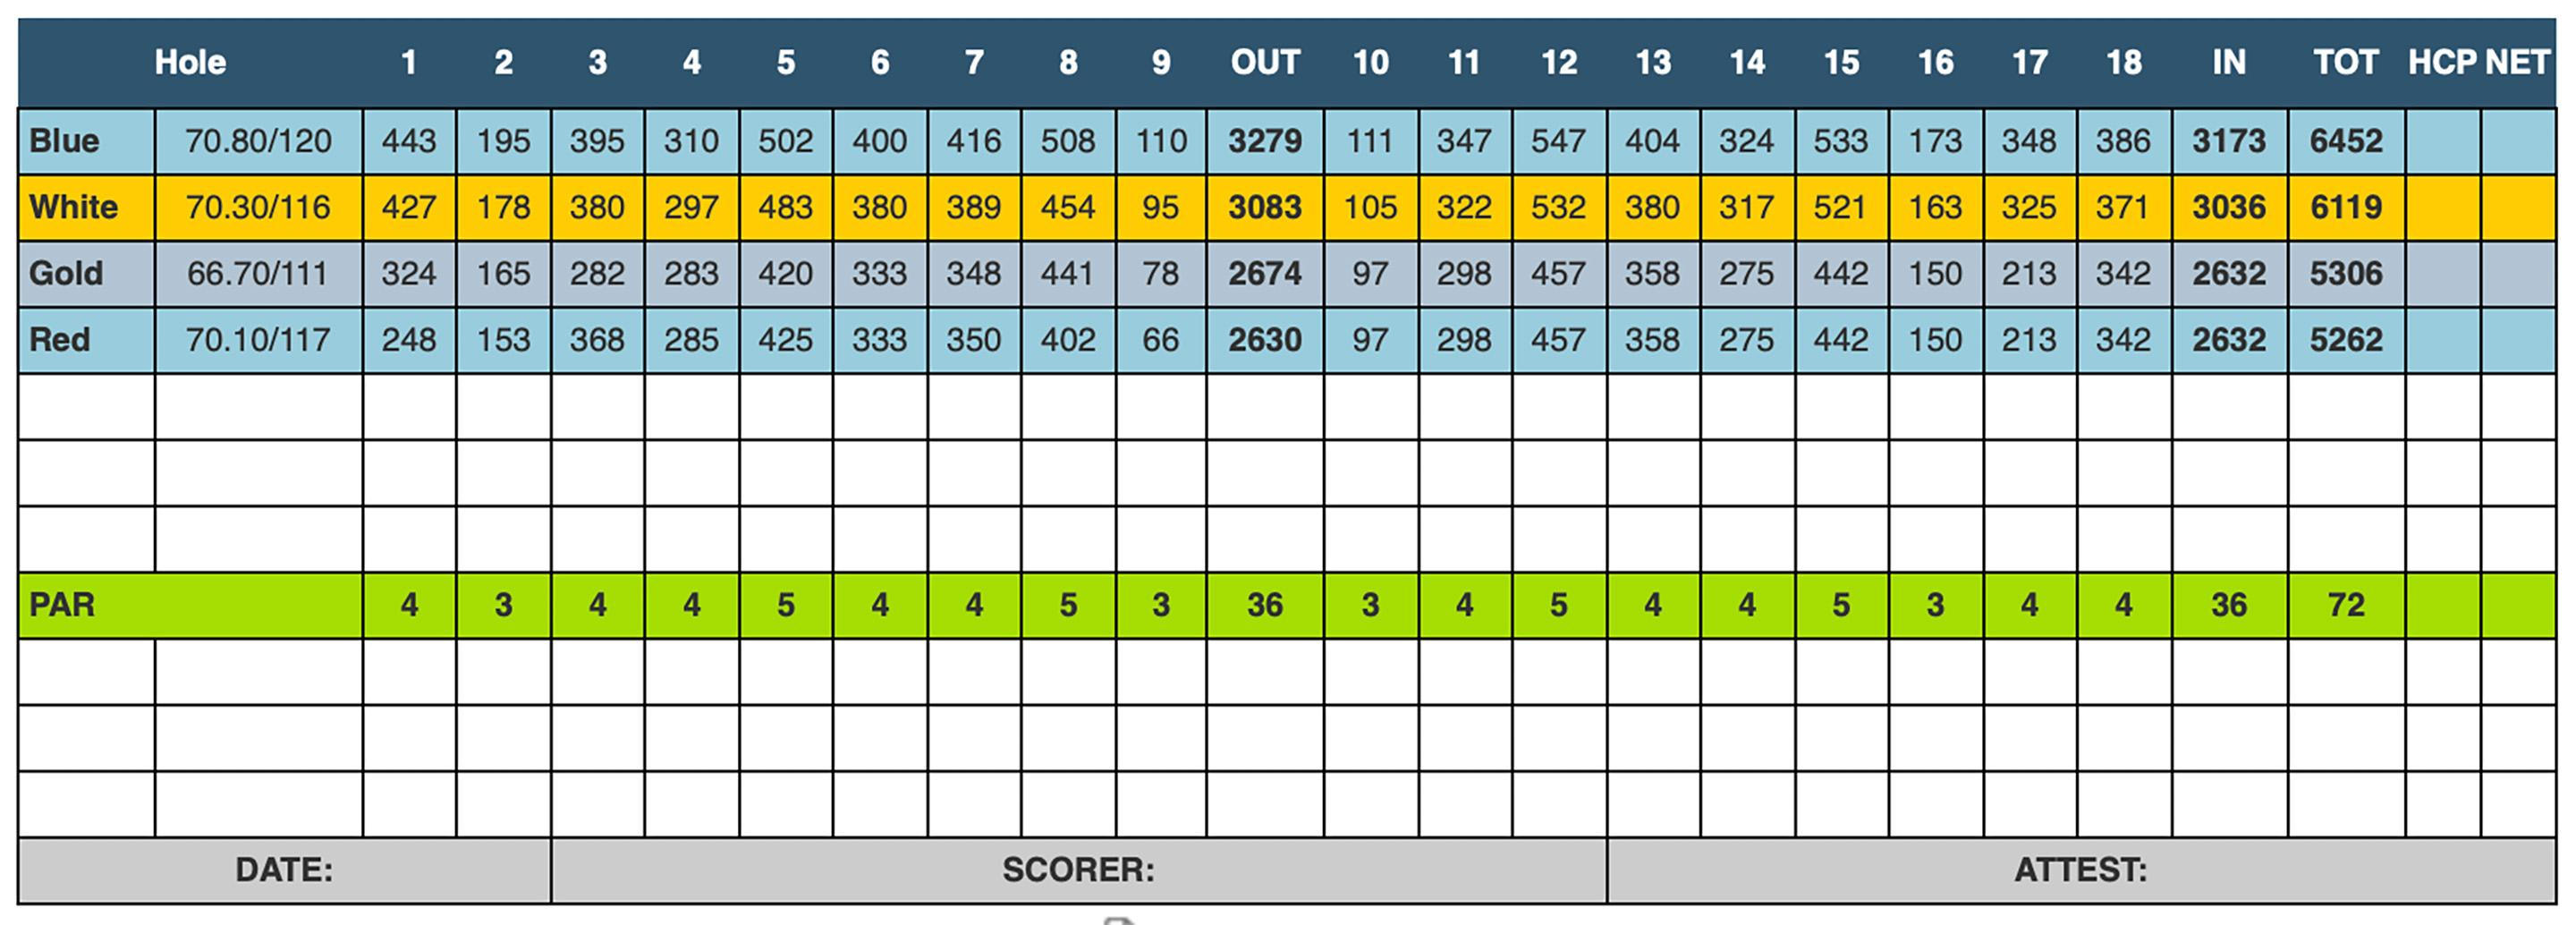
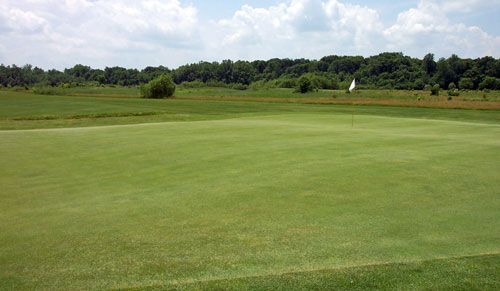
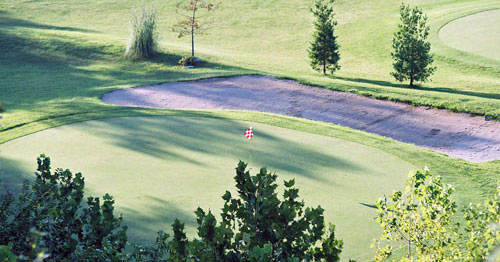
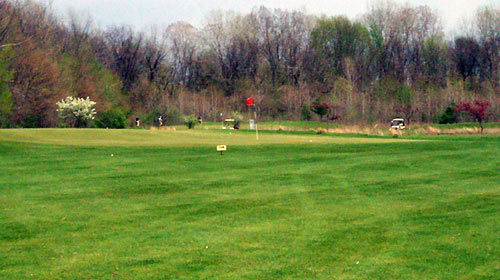
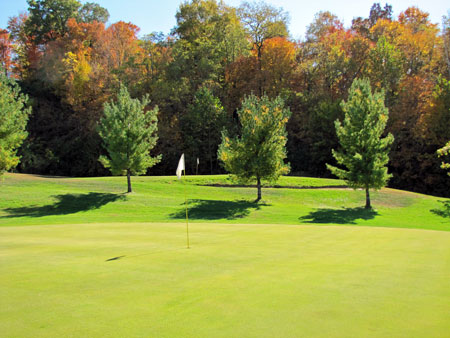
The greens are sand-based bent grass with a fair amount of slope and are sometimes speedy for a public golf course. Red flags indicate a pin placement in the front of the green, white flags show middle pin placements and blue flags indicate back pins. Bluff Creek offers four (4) sets of tees. The blue tees stretch out to 6525 yards, play to a par of 72, course rating of 70.8, and a slope of 120. The white tees play to 6122 yards, a par of 72, a course rating of 70.3, and a slope of 116. The red tees play to 5373 yards, a par of 73, course rating of 70.1, and a slope of 117. The gold tees are senior men's tees. Water hazards and/or woods come into play on 12 holes. Scroll down for hole-by-hole descriptions and photos. 


Scorecard

Screenshot 2023 10 13 at 12.29.01 AM 
 

Course Tour

  • Hole #1

    Hole #1

    B : Par 4 -443 yards
    W: Par 4 -430 yards
    R : Par 5 -420 yards

    A challenging yet wide open starting hole. Men tee off 50 feet above the fairway between a chute of trees to a wide fairway that doglegs from left to right. The prevailing wind and elevation helps the first tee shot get going in the right direction. Ladies, you tee off down below and have an extra shot for par. The green has 2 levels and is wider and higher in the back. A short sided approach will leave a tricky chip with grass bunkers on either side of the green. This is the number one handicap hole.

  • Hole #2

    Hole #2

    B : Par 3 -191 yards
    W: Par 3 -178 yards
    R : Par 3 -153 yards

    A demanding par 3. The distance and the horseshoe shaped green, guarded by a grass bunker in front, require a long high and accurate shot to hit and hold the green. The green has three levels that slope away on each side. Hit your tee shot to the side of the green away from the pin and you will be faced with a long chip or pitch shot that will need to roll over different levels of the green. A short-sided miss is no bargain either. Par is a good score here.

  • Hole #3

    Hole #3

    B : Par 4 -398 yards
    W: Par 4 -380 yards
    R : Par 4 -368 yards

    The fairway is wide and doglegs from right to left. It usually plays into the prevailing wind. Aim to the right of the cart path. Be careful if you choose the straight route and cut the dogleg as the heather grass on the left likes to gobble up tee shots moving to the left. The green is one of our smaller greens, is elevated and has 2 levels. The only good miss here is short. An up and down from left, long or right deserves a pat on the back and a "well done" from your playing partners.

  • Hole #4

    Hole #4

    B : Par 4 -310 yards
    W: Par 4 -297 yards
    R : Par 4 -285 yards

    A short par 4 hole that doglegs sharply to the right. Accuracy trumps distance here. Woods borders the entire right side of the hole. The fairway turns almost 90 degrees to the right at about 160 yards from the tee. A great tee shot would be something you can hit 160-200 yards turning left to right and ending in the middle or left side of the fairway. Just across the cart path in the rough is OK. If you try and hit a longer shot through the fairway, then long heather grass (about 230 yards from the blue tees) and a pond by the pump house await. The approach from the far right side of the hole is blocked by trees. A well placed tee shot will leave you with a short approach shot to a large green guarded short and left by a pond and long and right by woods.

  • Hole #5

    Hole #5

    B : Par 5 -512 yards
    W: Par 5 -483 yards
    R : Par 5 -425 yards

    This is a risk/reward par 5. Your first decision is on the tee shot: lay up short of the creek or try to fly it. If you go for it make sure to keep your tee shot left of center (just inside the tree line on the left works well) as the hole slightly doglegs from left to right. The trees that jut out from the right by the first creek are closer than it seems and woods border the entire right side. The second shot is a fairly straight-forward lay up. The long hitter thinking of going for the green in two faces two challenges: clear the creek just a few yards short of the green AND keep the ball from going more than a few yards over the green and in the woods. The green is wider than deep and slopes from the center to the front and from the back right to the back left.

  • Hole #6

    Hole #6

    B : Par 4 -405 yards
    W: Par 4 -380 yards
    R : Par 4 -333 yards

    A fairly straight-forward par 4 hole. There is heather on the far right and trees on the left, yet still plenty of room for the tee shot. The green is large and fairly flat. You will earn your score on the approach shot. A pond guards the entire right side of the green. Approaches left (trees) and long (heather grass and water) are no bargain. A miss just short of the green leaves a simple chip shot.

  • Hole #7

    Hole #7

    B : Par 4 -420 yards
    W: Par 4 -389 yards
    R : Par 4 -350 yards

    Another straightaway par 4 with a slight dogleg from right to left. There is plenty of room for the tee shot, but as usual heather looms on both sides of the fairway. Missing your approach over the green leaves the hardest chip shot. The green is large, fairly flat and has a few subtle breaks to it.

  • Hole #8

    Hole #8

    B : Par 5 -518 yards
    W: Par 5 -454 yards
    R : Par 5 -402 yards

    A challenging par 5 that plays longer than its distance indicates. The tee shot has a lot of room to find the wide fairway which gently doglegs from right to left. The second shot offers a variety of options. The hole plays much longer because the last 10 yards go 40 feet straight up to an elevated green. There is also the matter of the tree which guards the front and right side of the wide but shallow green. The lay up second shot is ideally placed about 80-100 yards from the green to allow room to hit a high third shot over the tree. For the daring player attempting to hit the green with his second shot, you need to hit it long and high and soft to hit and hold the smallish green. There are no good misses on the approach shot, though short and long are playable. When hitting your approach to the green, take extra club to allow for the elevation change. Although it does not really look like it, the green slopes from back to front.

  • Hole #9

    Hole #9

    B : Par 3 -120 yards
    W: Par 3 - 95 yards
    R : Par 3 - 90 yards

    A seemingly simple--and short--par 3 that plays longer than its distance indicates and requires a well-placed tee shot. The green is elevated some 30 feet above the tee and the approach shot is therefore somewhat blind. The green is deeper than wide and severely slopes from back-right to front-left. There is a 3-club difference from the front of the green to the back. It is best not to put your approach shot, pitch or chip above the hole. Birdie is possible, but par is a good score here. The good news is that the clubhouse sits just to the right of the green meaning food and refreshing beverages await.

  • Hole #10

    Hole #10

    B : Par 3 -111 yards
    W: Par 3 -105 yards
    R : Par 3 - 95 yards

    One of Bluff Creek's signature holes. This is a short par 3 hole with a twist: it's a blind tee shot 70 feet straight down. The hole plays about 25 yards less than the yardage. You don't want to miss left. Hit too short and you may not find your ball. Hitting over the green is no bargain with a large sand trap lurking. Once your ball is in the air, enjoy the long flight of the ball down to the green. Have fun!

  • Hole #11

    Hole #11

    B : Par 4 -347 yards
    W: Par 4 -322 yards
    R : Par 4 -295 yards

    This dogleg left hole requires a careful choice of club for the tee shot. A water hazard comes into play about 80 yards from the green. The green is most receptive to a high approach shot. The green slopes from middle to front, from middle to back and from right to left. Getting up and down from behind the green is difficult.

  • Hole #12

    Hole #12

    B : Par 5 -553 yards
    W: Par 5 -532 yards
    R : Par 5 -453 yards

    This long par 5 requires a well placed tee shot to set up the second and third shots on this slight right to left dogleg hole. Water hazards guard the narrow fairway on both sides at the dogleg turn to the left. The hole is straight forward after the tee shot, but be careful of the woods along the entire left side of the hole. The green is challenging with lots of humps and bumps and makes it a difficult up-and-down from around the green. A par or birdie here is well-earned.

  • Hole #13

    Hole #13

    B : Par 4 -409 yards
    W: Par 4 -380 yards
    R : Par 4 -342 yards

    An accurate tee shot is required here. The woods on the left (hiding Bluff Creek) borders the left side of the hole, but there is some room to the right of the fairway. A pond comes into play about 100 yards short of the green. The green is large and multi-tiered. Two putts from 30 feet and longer is well done on this large and tricky green. Par is a very good score.

  • Hole #14

    Hole #14

    B : Par 4 -324 yards
    W: Par 4 -317 yards
    R: Par 4 -273 yards

    A fun yet challenging short par 4. This is a real risk/reward hole. A well placed tee shot gives a great chance for a birdie. However, the woods (again hiding Bluff Creek) borders the entire left side of the hole and heather grass sits out to the right of the fairway. The hole is much tougher if the pin placement is back left on the upper tier. This hole usually plays down wind which further entices the long hitter to go for it, but the woods sits just a few yards left of the green.

  • Hole #15

    Hole #15

    B : Par 5 -533 yards
    W: Par 5 -521 yards
    R : Par 5 -428 yards

    A long hole that usually plays longer into the prevailing wind. A pond sits just in front of the green making this a three shot hole for all but the longest of hitters. The approach shot needs to carry the green or you risk going into the pond. Once you get to the green the challenge continues. A wide green with a large mound in the middle back of the green requires an accurate approach shot for every pin placement. Birdie is possible, but par is still a good score here.

  • Hole #16

    Hole #16

    B : Par 3 -178 yards
    W: Par 3 -163 yards
    R : Par 3 -113 yards

    This is one of Bluff Creek's signature holes. It's all carry over water into the prevailing wind, and it usually plays at least club longer than the distance indicates. The green slopes from front to back and off on the right. Short and right is water hazard. It is not an easy up and down from long or left. A par here is a very good score.

  • Hole #17

    Hole #17

    B : Par 4 -357 yards
    W: Par 4 -325 yards
    R : Par 4 -213 yards

    Seventeen is a very challenging short par 4. This dogleg right has a water hazard that runs down the entire right side of the hole. Hit it over the mounds on the left and the long heather grass awaits. Hit whatever club you can hit straight. A good aiming point is the white flag on the driving range. The green is large but falls off in front and to the right. Any up and down from around this green is well done.

  • Hole #18

    Hole #18

    B : Par 4 -396 yards
    W: Par 4 -371 yards
    R : Par 4 -335 yards

    The 18th hole looks simple enough, but it requires a well struck approach to score. There is ample room for the tee shot, but the challenge begins on the approach to the green. The green is elevated more than it looks, so take extra club. The green looks like it slopes from front to back, but it really slopes the other way. Congratulations, you have earned a trip to the 19th hole!

Ready to Reserve Your Tee Time?

Close